How to Create a Basic Login Page in Laravel Using Bootstrap
How to Create a Basic Login Page in Laravel Using Bootstrap
Laravel is a popular PHP framework for building web applications, and when combined with Bootstrap, you can create sleek and responsive pages quickly. In this guide, we’ll walk through creating a basic login page using Laravel and the latest Bootstrap features.
Step 1: Set Up Laravel Project
- Install Laravel: Open your terminal and run the following command to create a new Laravel project.
composer create-project --prefer-dist laravel/laravel loginApp- Set up environment variables: In the
.envfile, configure your database connection:
   DB_CONNECTION=mysql
   DB_HOST=127.0.0.1
   DB_PORT=3306
   DB_DATABASE=your_database_name
   DB_USERNAME=your_username
   DB_PASSWORD=your_password
Step 2: Install and Configure Authentication
- Install Laravel Breeze for basic authentication scaffolding:
composer require laravel/breeze --dev- Run Breeze installation and migrate:
   php artisan breeze:install
php artisan migrate- Serve your application: Start your Laravel server.
php artisan serve
Step 3: Set Up Bootstrap
- Install Bootstrap: Navigate to your project folder and install the latest Bootstrap via npm.
npm install bootstrap- Compile assets: Update your
resources/css/app.cssfile to import Bootstrap, then compile your assets:
@import 'bootstrap/dist/css/bootstrap.css';In your terminal, run:
npm run dev
Step 4: Customize the Login Page
- Locate the login view: In
resources/views/auth/login.blade.php, you’ll find the login form. Modify it with Bootstrap classes to make it responsive. - Bootstrap Layout Example: Here’s how to set up a simple, centered login form with Bootstrap styling:
   <div class="container d-flex align-items-center justify-content-center" style="min-height: 100vh;">
       <div class="card p-4" style="width: 100%; max-width: 400px;">
           <h2 class="text-center mb-4">Login</h2>
           <form method="POST" action="{{ route('login') }}">
               @csrf
               <div class="mb-3">
                   <label for="email" class="form-label">Email</label>
                   <input type="email" id="email" name="email" class="form-control" required autofocus>
               </div>
               <div class="mb-3">
                   <label for="password" class="form-label">Password</label>
                   <input type="password" id="password" name="password" class="form-control" required>
               </div>
               <button type="submit" class="btn btn-primary w-100">Login</button>
           </form>
       </div>
   </div>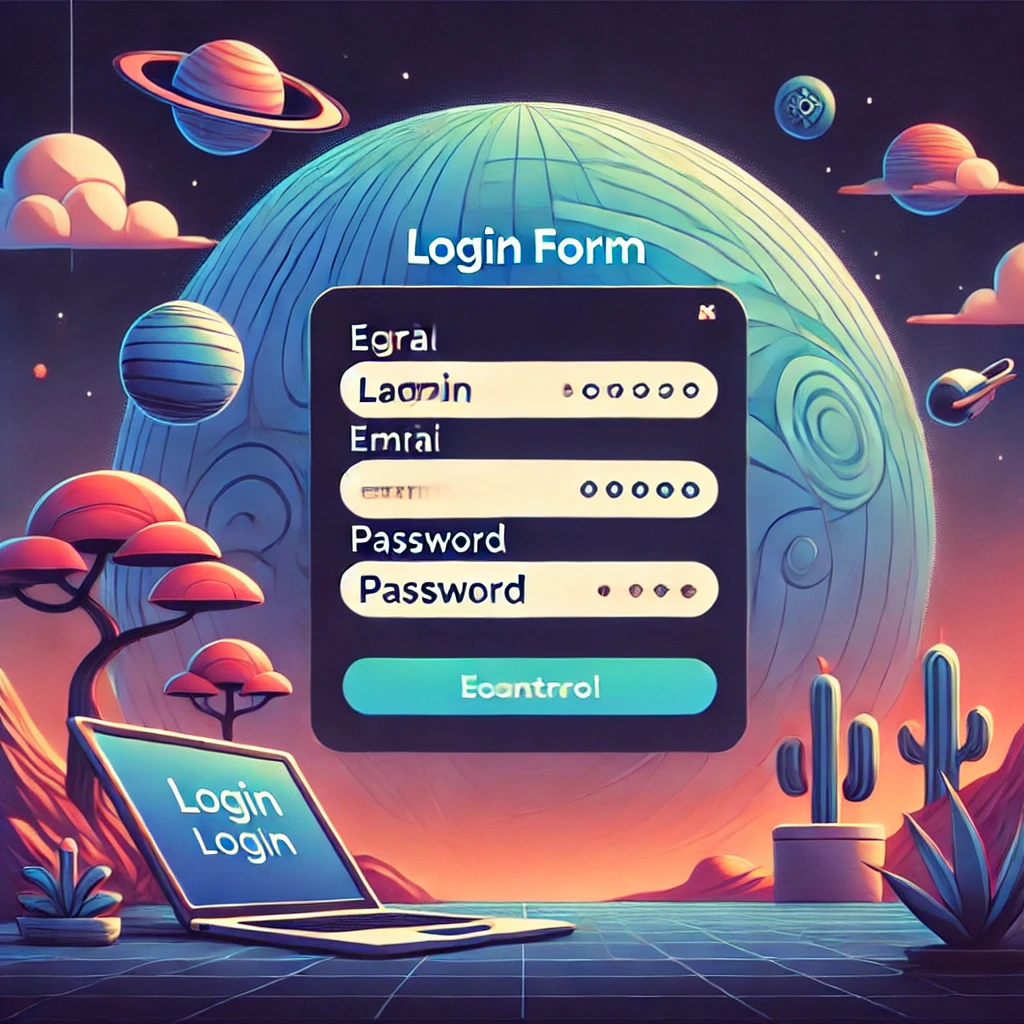
Step 5: Add Form Validation
Laravel includes built-in form validation, which you can use to provide feedback when fields are left blank or entered incorrectly.
- Customize validation messages: Add error display to the login form in
login.blade.php.
   <div class="mb-3">
       <label for="email" class="form-label">Email</label>
       <input type="email" id="email" name="email" class="form-control @error('email') is-invalid @enderror" required autofocus>
       @error('email')
           <div class="invalid-feedback">{{ $message }}</div>
       @enderror
   </div>
Step 6: Test the Login Functionality
- Create a test user: Run this command to open Tinker and create a test user:
php artisan tinkerInside Tinker:
\App\Models\User::create(['name' => 'Test User', 'email' => 'test@example.com', 'password' => bcrypt('password')]);- Log in using test credentials: Open
http://127.0.0.1:8000/loginin your browser, and try logging in with the test email and password.

Conclusion
Congratulations! You’ve successfully created a basic login page using Laravel with Bootstrap. This setup serves as a foundation for more advanced authentication features. Experiment with Bootstrap components to enhance your app’s UI further.
