A Delectable Delight: Mastering the Art of Homemade Apple Pie
Few desserts evoke warmth and nostalgia quite like a homemade apple pie. The combination of flaky crust, sweet and tangy apple filling, and aromatic spices creates a symphony of flavors that delights the senses. In this article, we’ll take you on a journey through the step-by-step process of crafting your very own homemade apple pie. From selecting the perfect apples to achieving a golden, mouthwatering crust, get ready to embark on a culinary adventure that will leave your taste buds singing with joy.
Step 1: The Perfect Apple Selection To create an exceptional apple pie, choosing the right apples is essential. Opt for varieties that strike a balance between sweet and tart flavors, such as Granny Smith, Honeycrisp, or Braeburn. Select apples that are firm and crisp, as they will hold their shape during baking. Aim for a mix of apple varieties to achieve a depth of flavors in your pie filling.
Step 2: A Flaky Masterpiece – The Pie Crust A great apple pie begins with a flaky, buttery crust. Start by combining all-purpose flour, a pinch of salt, and chilled butter in a mixing bowl. Use a pastry cutter or your fingertips to blend the butter into the flour until the mixture resembles coarse crumbs. Gradually add ice-cold water and gently mix until the dough comes together. Divide the dough in two portions, shape them into discs, wrap in plastic wrap, and chill for at least an hour.
Step 3: Rolling and Laying the Foundation Remove the chilled dough from the refrigerator and let it sit for a few minutes to soften slightly. On a lightly floured surface, roll out one disc of dough into a circle, large enough to fit your pie dish. Carefully transfer the rolled dough to the dish, gently pressing it against the bottom and sides. Trim any excess dough hanging over the edges.
Step 4: The Heavenly Filling Peel, core, and slice the apples into thin, even slices. In a mixing bowl, combine the apple slices with sugar, a squeeze of lemon juice, ground cinnamon, nutmeg, and a pinch of salt. Toss the apples until they are coated in the flavorful mixture. Arrange the apple slices in the prepared pie crust, creating a mound in the center.
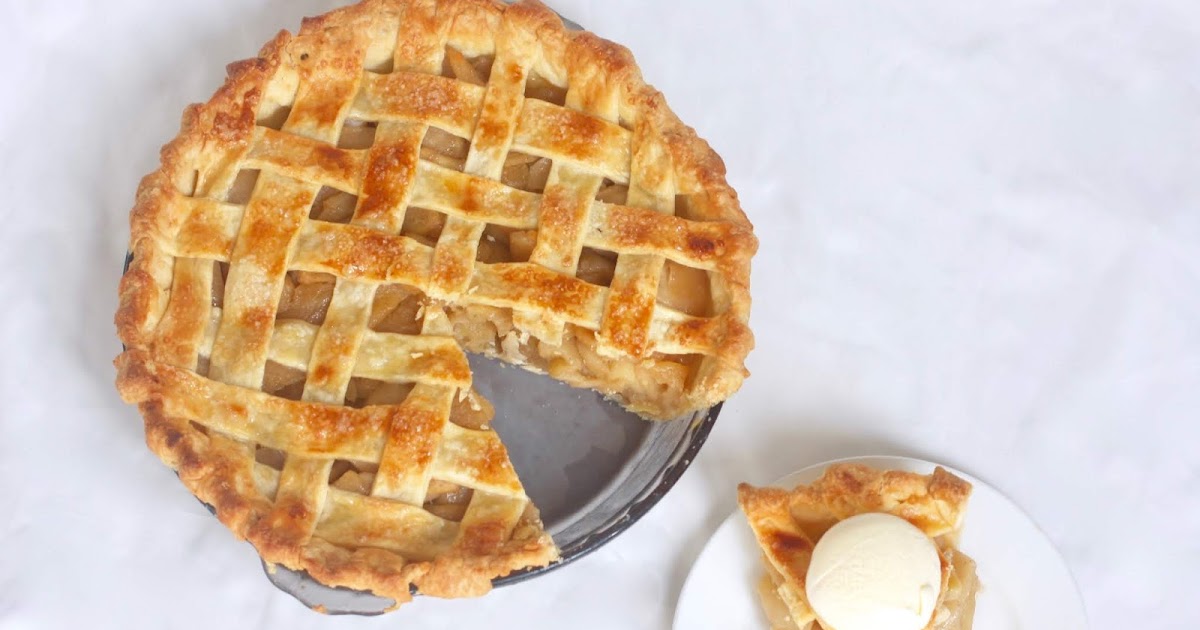
Step 5: The Lattice Top or Double-Crust Wonder For a classic look, create a lattice top by rolling out the second disc of dough and cutting it into thin strips. Lay half of the strips across the pie, evenly spaced. Fold back every other strip and lay a new strip perpendicular to the first ones. Repeat this process until you have a woven lattice pattern. Trim and crimp the edges of the crust to seal the pie.
Step 6: The Golden Bake Preheat your oven to 375°F (190°C). Place the assembled pie on a baking sheet to catch any potential drips. Brush the top crust with an egg wash made by whisking an egg with a splash of milk or cream. Sprinkle some sugar on top for an extra touch of sweetness and a beautiful golden color. Bake the pie for about 45 to 50 minutes or until the crust is golden and the filling is bubbling.
Step 7: The Irresistible Aroma and Final Touch As your homemade apple pie bakes, your kitchen will be filled with the mouthwatering aroma of warm apples and cinnamon. Once it’s done, remove it from the oven and let it cool on a wire rack for at least 2 hours. This allows the pie to set and the flavors to meld. Serve your masterpiece warm with a dollop of whipped cream or a scoop of vanilla ice cream for the ultimate indulgence.
Crafting a homemade apple pie is an experience that rewards both the cook and those lucky enough to savor its flavors. From the careful selection of apples to the creation of a flaky crust and a tantalizing filling, each step contributes to the creation of a delectable delight. So, tie on your apron, grab your rolling pin, and embark on the journey of creating a homemade apple pie that will bring joy and warmth to your table.
