Step-by-Step Guide: How to Set Up and Install WordPress Using FTP Access
WordPress is a popular content management system (CMS) that allows you to create and manage your own website. In this tutorial, we will walk you through the process of setting up and installing WordPress using FTP (File Transfer Protocol) access. FTP allows you to upload files from your computer to your web server. Let’s get started!

Step 1: Download and Install an FTP Client
- Search for an FTP client such as FileZilla, Cyberduck, or WinSCP.
- Download and install the FTP client that suits your operating system.
Step 2: Gather Your FTP Credentials
- Contact your web hosting provider and request your FTP login credentials.
- Typically, you will need the FTP server address, username, password, and port number (usually 21).
Step 3: Connect to Your Web Server
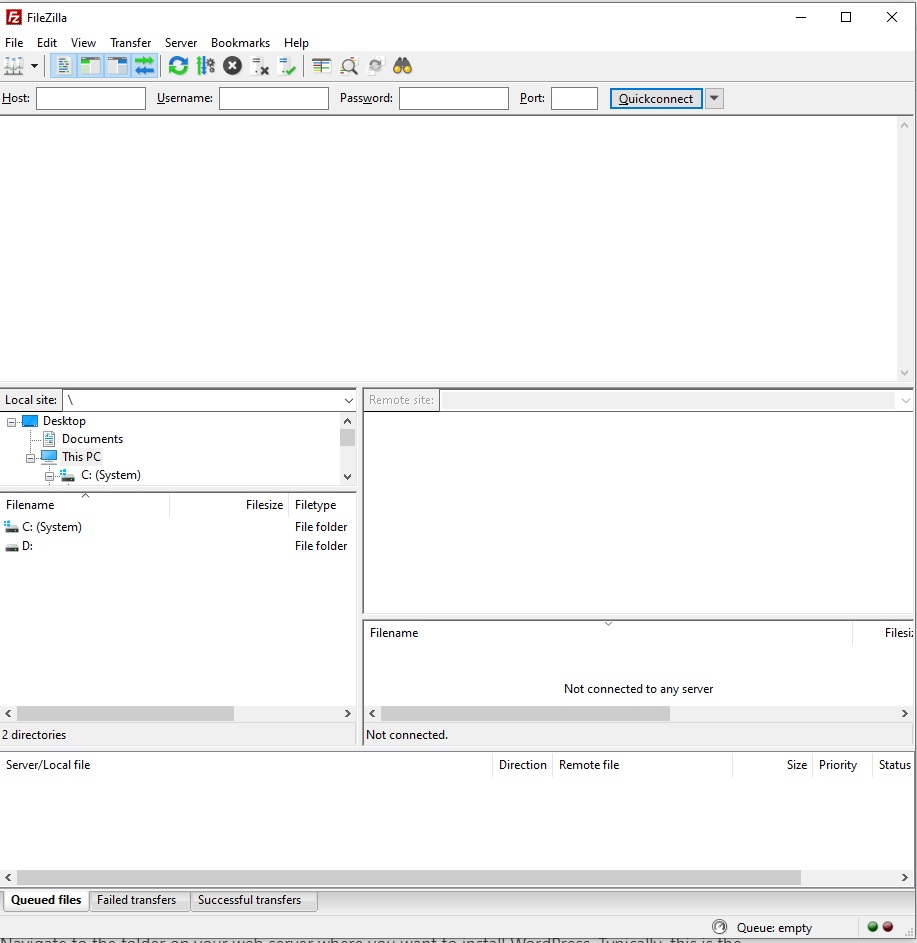
- Launch the FTP client you installed earlier.
- Enter the FTP server address in the “Host” field.
- Enter your FTP username and password in the respective fields.
- Set the port number to the one provided by your hosting provider.
- Click on the “Connect” button to establish a connection to your web server.
Step 4: Upload WordPress Files
- Once connected, you will see two panels in the FTP client interface: the local site (your computer) on the left and the remote site (your web server) on the right.
- Navigate to the folder on your web server where you want to install WordPress. Typically, this is the “public_html” or “www” directory.
- In the local site panel, locate the WordPress files you downloaded from the official WordPress website (https://wordpress.org).
- Select all the WordPress files and directories.
- Drag and drop the selected files from the local site panel to the remote site panel (your web server). This will initiate the file transfer process.
- Wait for the FTP client to finish uploading all the files to your web server.
Step 5: Create a MySQL Database
- Log in to your web hosting control panel (e.g., cPanel).
- Look for the “MySQL Databases” or “Database Wizard” option.
- Create a new database by entering a name and clicking on the “Create Database” button.
- Next, create a MySQL user by entering a username and password. Make sure to remember these details.
- Add the newly created user to the database by selecting the user and database from the respective dropdown menus and clicking on the “Add” or “Submit” button.
Step 6: Configure WordPress
- Open a web browser and navigate to your domain name (e.g., www.yourdomain.com).
- You will see the WordPress installation page. Select your preferred language and click on the “Continue” button.
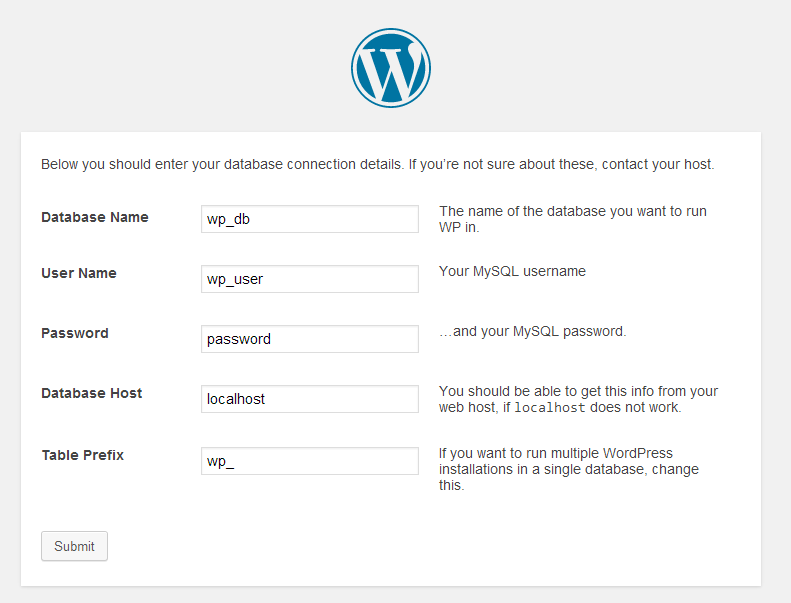
- On the next screen, WordPress will ask for your database information. a. Enter the database name, username, password, and database host (usually “localhost”). b. Click on the “Submit” button to proceed.
- WordPress will attempt to connect to your database. If successful, click on the “Run the Install” button.
- Enter your website title, username, password, and email address for the WordPress admin account.
- Click on the “Install WordPress” button to complete the installation process.

Step 7: Log in to WordPress
- Once the installation is complete, you will see a success message.
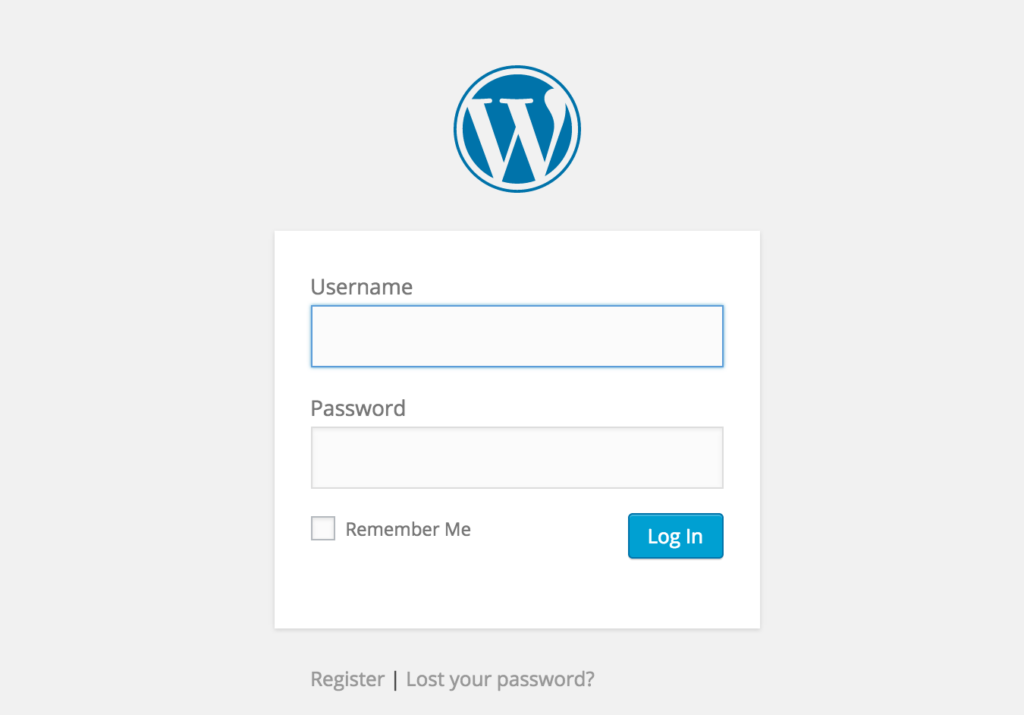
- Click on the “Log In” button to access the WordPress admin dashboard.
- Enter the username and password you created during the installation process.
- Click on the “Log In” button to log in to your WordPress website.

Congratulations! You have successfully set up and installed WordPress using FTP access. Now you can customize your website, install themes and plugins, and start creating content.
Note: Remember to keep your WordPress installation, themes, and plugins updated to ensure optimal security and performance. Regularly back up your website to prevent data loss.

